
Introduction
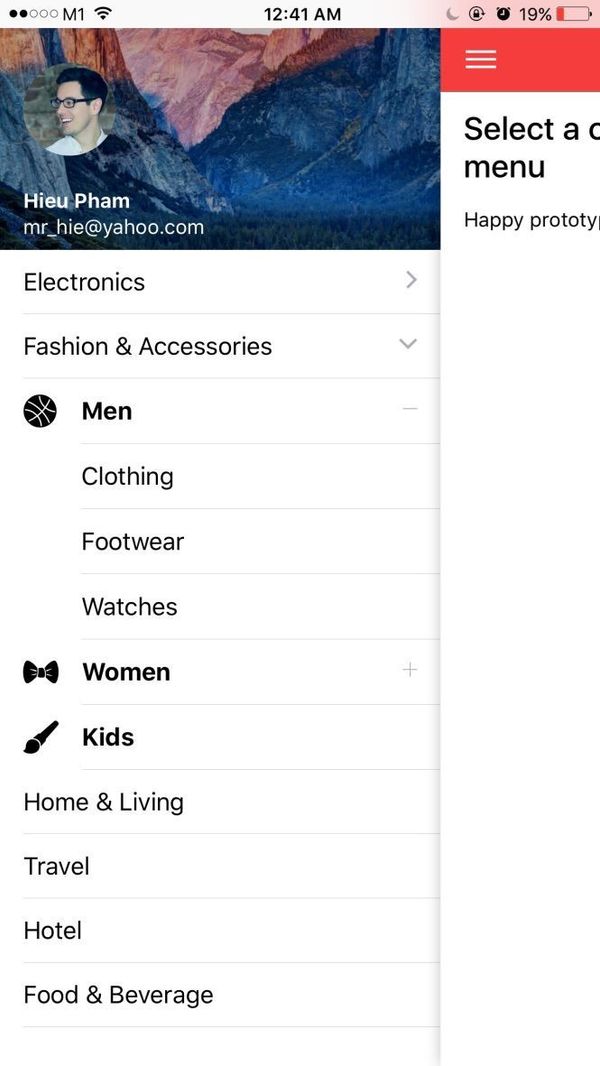
A beautiful multilevel collapsible menu (maximum of 3, I recommend that we don't need more than 3 levels) on the side menu (app drawer), NOW ON IONIC 2. Works as a clean component
I always take it serious to keep the code quality high, with clean and self-explained code. When purchasing this, you also get my latest "helper" snippets inside the package to make it more fun to code.
What's in the package
- Ionic Project source code: based on the folder structure generated with
Ionic CLI - No Backend code: this is just the UI, not a fully functional app. Data is mostly static dummy unless mentioned, e.g GIF search uses the real Giphy API
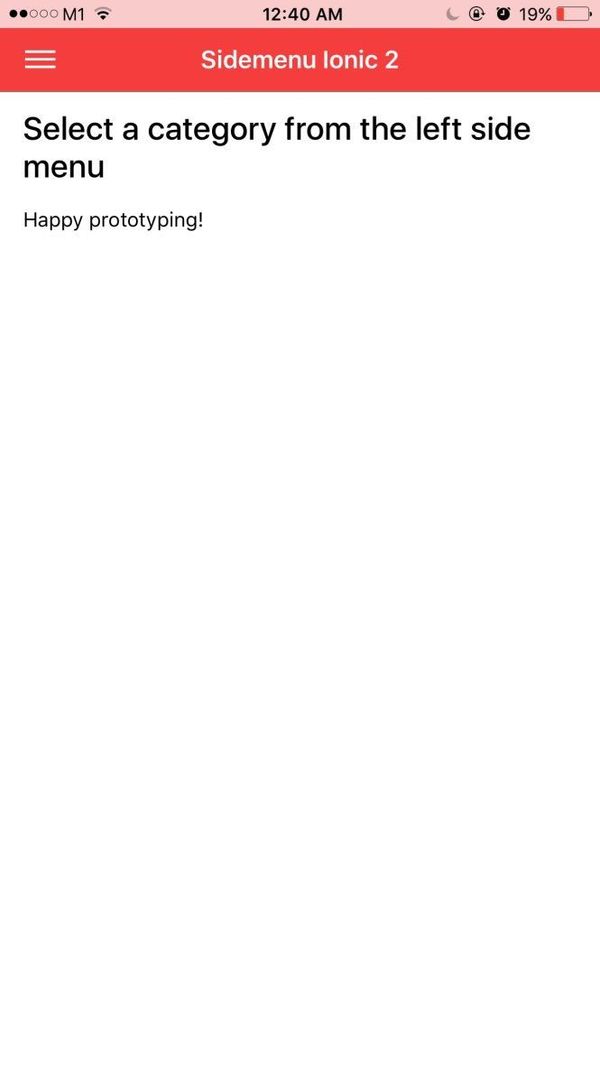
Preview
Watch on Youtube
See how it works on Youtube: https://youtu.be/PxrNPYPFiEY
Happy prototyping!
Changelog
Note: All updates are for Ionic 3
Last updated: Jul 6 2017
v1
- First version
v2
- Migrate to Ionic 3
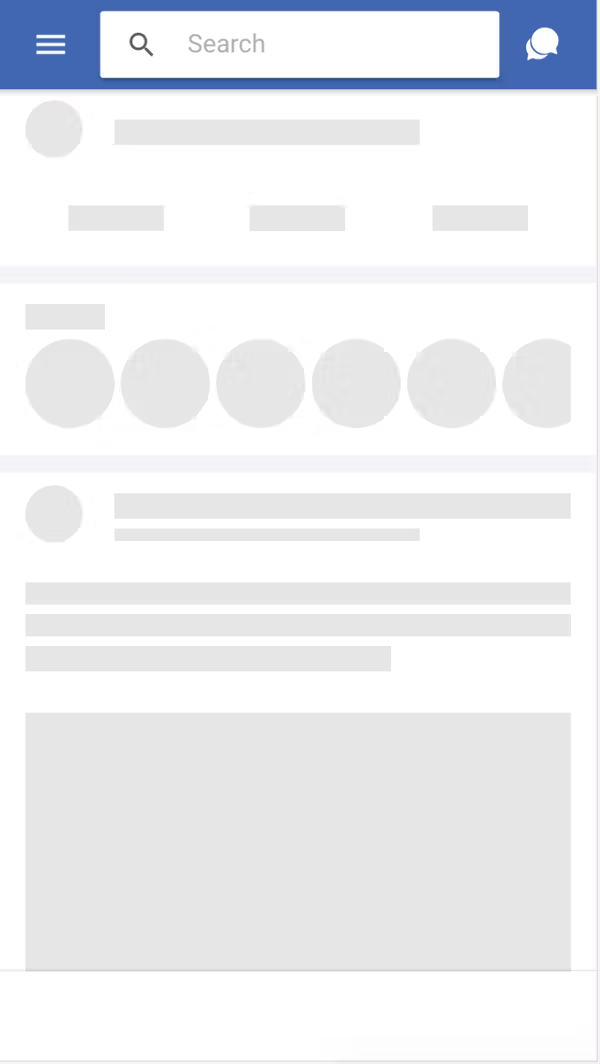
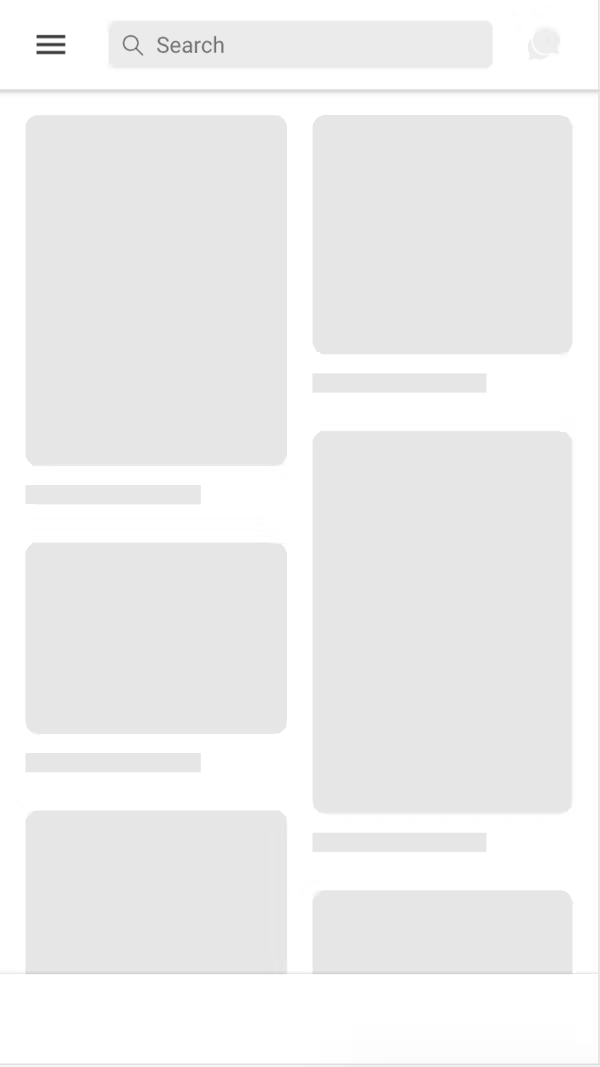
Screens
- Come as a component
- Customizable color
- Nice animation effect
Run locally
1.Install Ionic environment
$ npm install -g @ionic/cli@6.12.0
2.After purchasing, download the zip file containing the entire demo app and unzip
3.Go inside the extracted folder
4.Install all dependencies
$ npm install
5.Start local server
$ ionic serve
6.Your default browser should now automatically open the template
Notes
Background color for the active menu item
# src/components/multilevel-menu/multilevel-menu.scss
$activeColor: #f53d3d;
Categories Data Structure
{
        name: "Electronics",
        id: 4,
        items: [
          {
            name: "TV",
            id: 40,
            items: [
              ................
              {
                name: "Sony",
                id: 402
              },
              {
                name: "Other - custom URL",
                url: '/app/other'
              }
            ]
			.............
Include directive in a template
<multilevel-menu [categories]="categories" (onSelect)="onMenuSelect($event)" [selectedCategory]="selectedCategory"></multilevel-menu>
Event handler for onSelect
In the parent component you can get the selected category by creating your handler
# src/app/app.component.ts
onMenuSelect(cat) {
    console.info('In app.components: selected category', cat);
    this.selectedCategory = cat;
    this.nav.setRoot(Home, {
      selectedCategory: cat
    })
  }
Build with capacitor
First of all, make sure that you can Run Locally (see the instruction above).
# build web asset (to folder www)
$ ionic build

# add platform (ios or android)
$ ionic capacitor add ios

# prepare app icons and splash images
$ npm run resources

# copy web assets into the native project
$ ionic capacitor copy ios

# open Xcode, then build the native app from there
$ ionic capacitor open ios

# OR run in live-reload mode
$ ionic capacitor run ios -l --external
See more:
Migrating a Web App Using Cordova to Capacitor
Contact
If you need any technical support or have any questions, don't hesitate to send me a message: mr_hie@yahoo.com
Homepage: https://www.takethatdesign.com
[PROMO] Ionic 4 Bundle: 4 in 1 - Best Seller
My best Ionic 4 products (3 themes + 1 plugin) are now on sale with promotion code BUNDLE4. Please click the button below for more information.